Welcome to our comprehensive guide on how to splint a duck’s leg. If your feathered friend has experienced a leg injury or fracture, it is essential to provide proper care and support for their healing process. In this article, we will provide you with a step-by-step guide on how to effectively splint a duck’s leg.
Splinting a duck’s leg is a crucial aspect of their treatment, ensuring that the injured leg stays immobilized and supported. By following our guide, you will learn how to provide the necessary care for your duck’s leg injury, promoting a swift recovery and reducing the risk of further complications.
Throughout this guide, we will cover everything you need to know, from assessing the condition of the leg and gathering the required supplies to implementing different splinting techniques. Our goal is to equip you with the knowledge and practical steps needed to properly care for your duck’s leg injury.
Before we dive into the step-by-step instructions, let’s first discuss the initial assessment and preparation needed for providing first aid to a duck’s leg injury. This will ensure that you are well-prepared and ready to proceed with splinting. So, let’s get started!
First Aid for Duck Leg Injury: Assessment and Preparation
Before proceeding with splinting a duck’s leg, it is crucial to assess the extent of the injury and gather the necessary materials. This initial phase of providing first aid for a duck leg injury plays a vital role in ensuring the successful care and treatment of your feathered friend.
When encountering a duck leg injury, follow these essential steps to assess the condition:
- Approach the duck calmly and avoid causing any additional stress or pain.
- Observe the duck’s behavior and movement. Note if the duck is unable to bear weight on the injured leg, if there is swelling or visible deformity, or if the limb is twisted.
- Gently examine the leg to identify any open wounds, cuts, or bleeding.
- Take note of any signs of distress, such as excessive vocalization, loss of appetite, or changes in behavior.
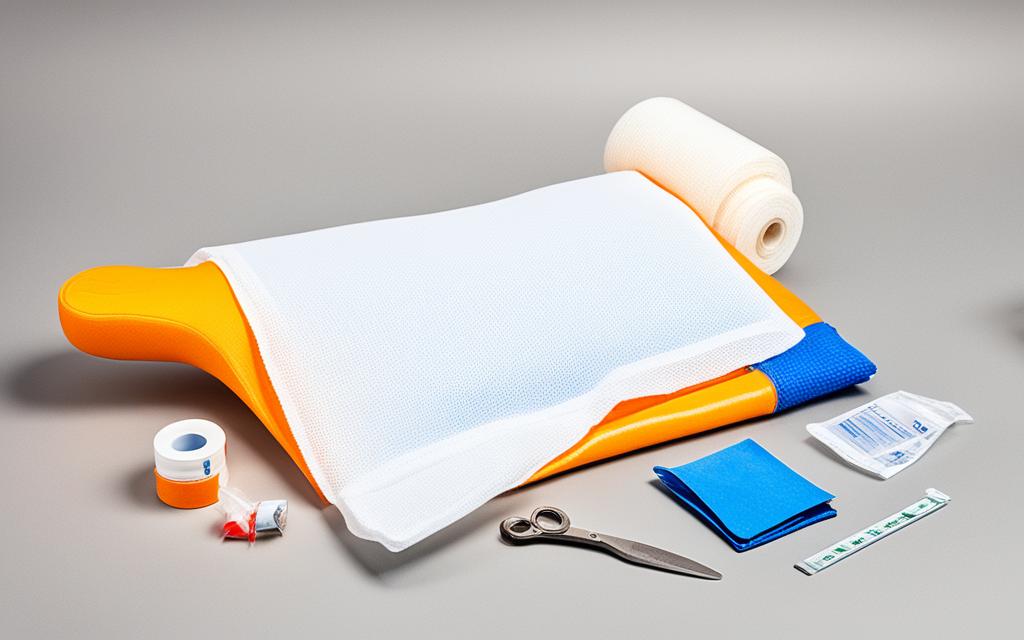
Once the initial assessment is complete, it is time to gather the required supplies for splinting. Here are the essential materials you will need:
- A clean cloth or padding to cushion the leg before applying the splint.
- Rigid material for the splint, such as popsicle sticks, tongue depressors, or small pieces of wood.
- Unscented medical tape or vet wrap to secure the splint in place.
- A small towel or bandage to wrap around the leg for added support.
- A pair of sharp scissors to cut the material, if needed.
Preparing these supplies in advance will ensure a smooth and efficient splinting process for the injured duck.
Assessment and Preparation Checklist:
- Approach the duck calmly to avoid causing stress.
- Observe the duck’s behavior, movement, and leg condition.
- Gently examine the leg for wounds or bleeding.
- Note any signs of distress or changes in behavior.
- Gather the necessary supplies: cloth, popsicle sticks, medical tape, towel, and scissors.
Step-by-Step Duck Leg Splinting Techniques
When a duck suffers a leg fracture or injury, proper treatment is essential for their recovery and well-being. In this section, we will guide you through the step-by-step process of splinting a duck’s leg, ensuring optimal healing and support.
1. Assess the Leg Fracture
The first step in treating a duck’s leg fracture is to carefully assess the extent of the injury. Gently examine the leg for any visible fractures, swelling, or deformities. If you notice an open wound or excessive bleeding, seek immediate veterinary assistance.
2. Gather the Required Supplies
Before proceeding with splinting, gather the necessary supplies to immobilize and support the duck’s leg. These include:
- A lightweight and sturdy material for splinting, such as a popsicle stick or cardboard
- Soft padding, such as cotton fabric or gauze
- Medical tape or cohesive bandage
- Scissors
3. Prepare the Homemade Duck Leg Splint
If you prefer a homemade splint, you can use a popsicle stick or cut a sturdy material to match the length of the duck’s leg. Ensure the splint is wide enough to provide support and avoid constriction. Wrap the splint with soft padding to cushion the leg and prevent discomfort.
4. Stabilize the Leg with the Splint
With the leg ready and the splint in hand, gently position the duck’s leg in its natural alignment. Carefully secure the splint alongside the leg, ensuring it covers the fractured area and adjacent joints, providing stability while allowing circulation. Use medical tape or cohesive bandage to hold the splint firmly in place.
5. Monitor and Provide Comfort
Once the leg is splinted, carefully observe the duck’s behavior and ensure they are comfortable. Monitor their mobility and check the splint regularly for any signs of slippage or discomfort. Replace the splint if it becomes wet or soiled.
Conclusion
In conclusion, caring for a duck with a leg injury requires proper splinting and continuous attention. By following the step-by-step guide provided in this article, you can ensure the well-being and quick recovery of your feathered companion.
Remember to monitor your duck’s progress closely by observing their behavior, mobility, and any signs of discomfort. Regularly check the splint to ensure it remains secure. Provide ongoing care such as keeping the duck in a clean and safe environment, providing a balanced diet, and offering fresh water. Additionally, consider creating a comfortable resting area for the duck to reduce any unnecessary strain on their injured leg.
If despite your best efforts, the duck’s leg injury does not show signs of improvement or there are any complications, it’s crucial to consult a veterinarian specializing in avian care. They can provide further guidance, evaluate the situation, and offer additional treatment options if necessary.
Your dedication and attention to your duck’s leg injury will greatly contribute to their healing process. With love and proper care, your feathered friend will have the best chance at a full recovery and returning to their happy and active self.